
One of the things that my yoga practice offers me that I am the most grateful for is the opportunity to check in, to slow down, and see where I am at mentally and physically. When my anxiety levels are elevated, I find a restorative practice incredibly challenging, so I typically start by practicing a more vigorous (but simple) practice first (like a few rounds of sun salutation A & B), and then settling into the restorative poses. Also, because I tend to spend a little while readjusting and fidgeting, I usually allot for extra time in each pose. A restorative pose can be held for anywhere from 5 minutes, to twenty minutes (or longer!), depending on how the pose feels in your body, and how much time you have to practice.
This gentle restorative sequence moves the spine through a variety of movements. Forward folding (spinal flexion), twists (rotation), side bend (lateral flexion), and a backbend (spinal extension). It is hard in a blog post to explain all the ways that we might modify the poses shown, but there are modifications shown or explained for some very common complaints that I hear in class with these poses. This sequence was shot in our studio, where we have a plethora of props. If you are practicing in your home, a rolled up firm blanket can be a good substitute for a bolster, and books could be a good substitute for blocks! If you have any questions or thoughts, please let us know in the comments!
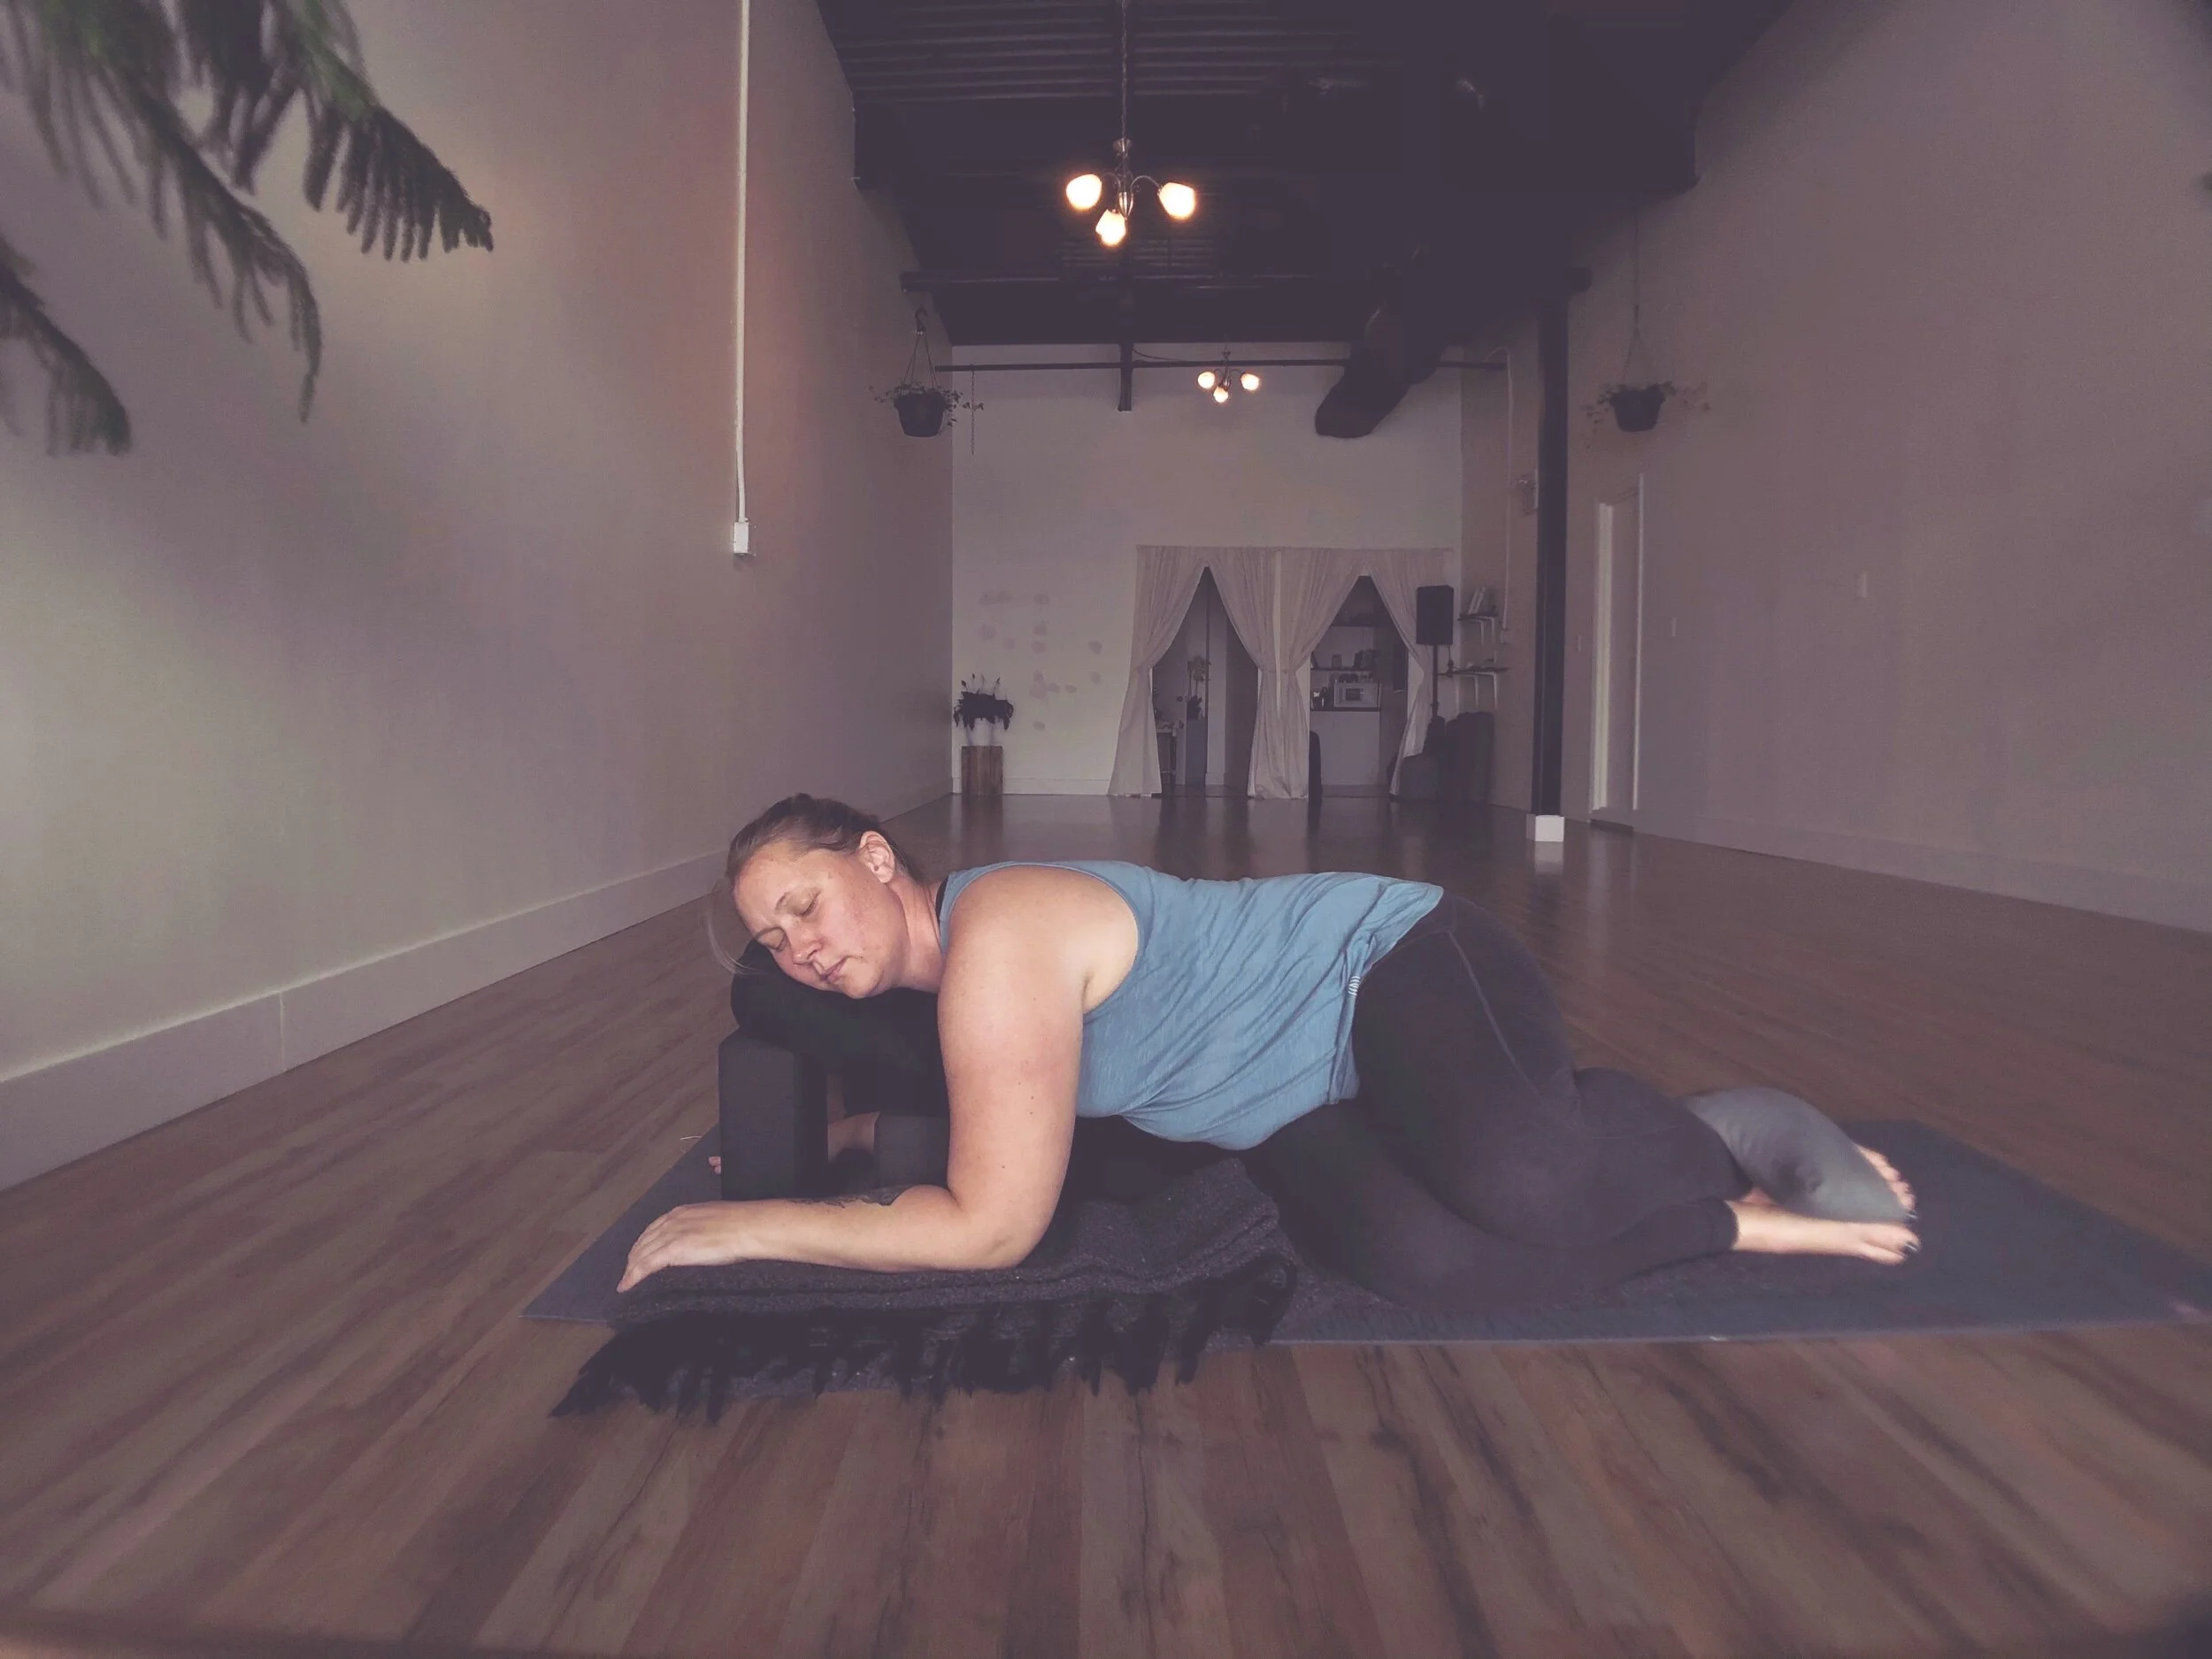
Supported Child’s Pose

Supported child’s pose is a wonderful way to slow down and settle into practice. In the variation above, the torso is supported by a bolster on top of two blocks. The front of the ankle is also supported by a rolled blanket. We start with the bolster in between our knees, about half way up our thigh, and then lower our torso down onto it. One cheek can rest on the bolster for half of the time we are spending in the pose, followed by the other cheek. Be mindful that you are not supporting your body on your arms here. If you feel like you are, try lifting your elbows, and moving them farther away from your body. Especially when my anxiety levels are high, I am better able to start to relax and calm down when I weight my body. Here, I have a 10 lb sandbag on my back, as well as a folded woven blanket. Although this pose feels wonderful for many of my students, it is far too much knee and hip flexion for others. Below is a modified version of supported child’s pose where the knees and hips are not so bent, but we still have the pressure on the front of our torso. In this variation the head does not rest on the bolster like it does in the first photo, it instead on a block a few inches ahead of the bolster, to allow room for the face.

Belly Down Twist
In this pose, there is a little ramp built from a bolster, propped up by two blocks, one at the tallest height, and one at the medium height. I also really like to add a little extra cushion under my hips by sitting on a folded blanket. To get into this pose, we sit with one hip beside the bolster, and then slowly twist so our belly is facing it, and our shoulders start to square towards the floor. Next, we lower our torso onto the bolster. Our head can face the same way as our knees for a more gentle spinal twist, or the other way for a more intense twist. Choose the head position that feels the most comfortable. I feel like I have a much easier time relaxing the muscles in my legs when I have a weight on my ankles.
Rainbow Pose
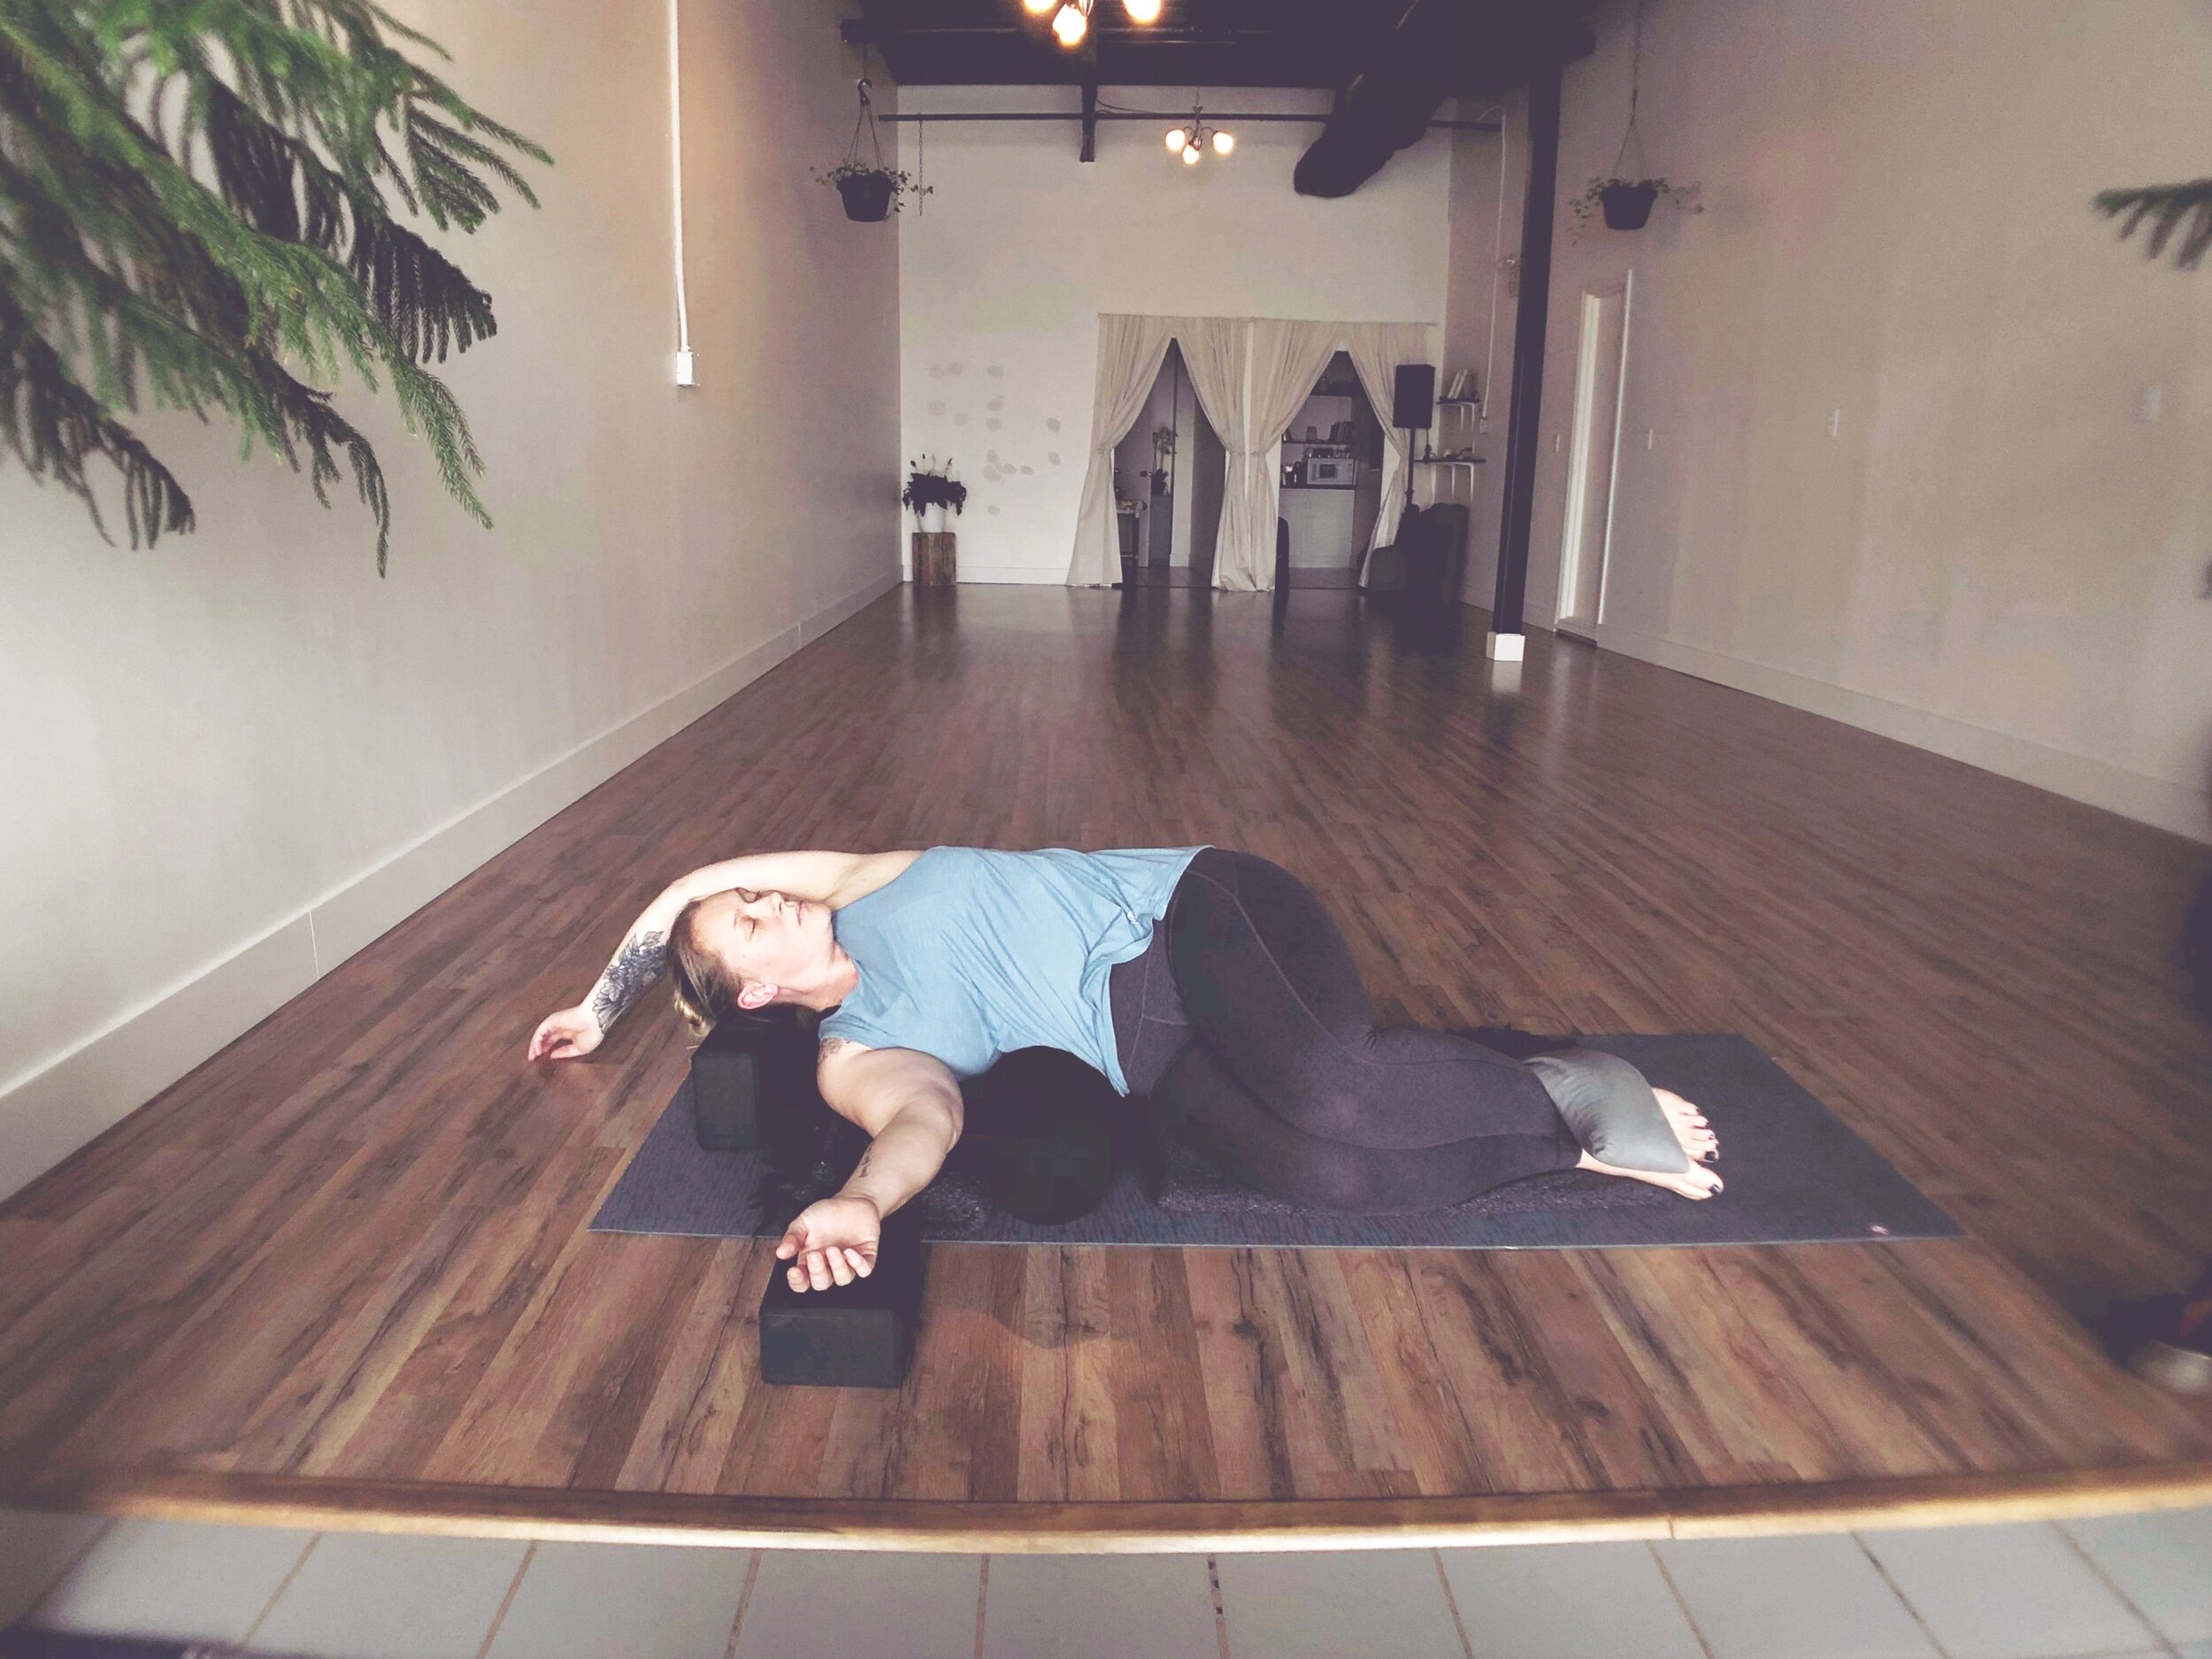
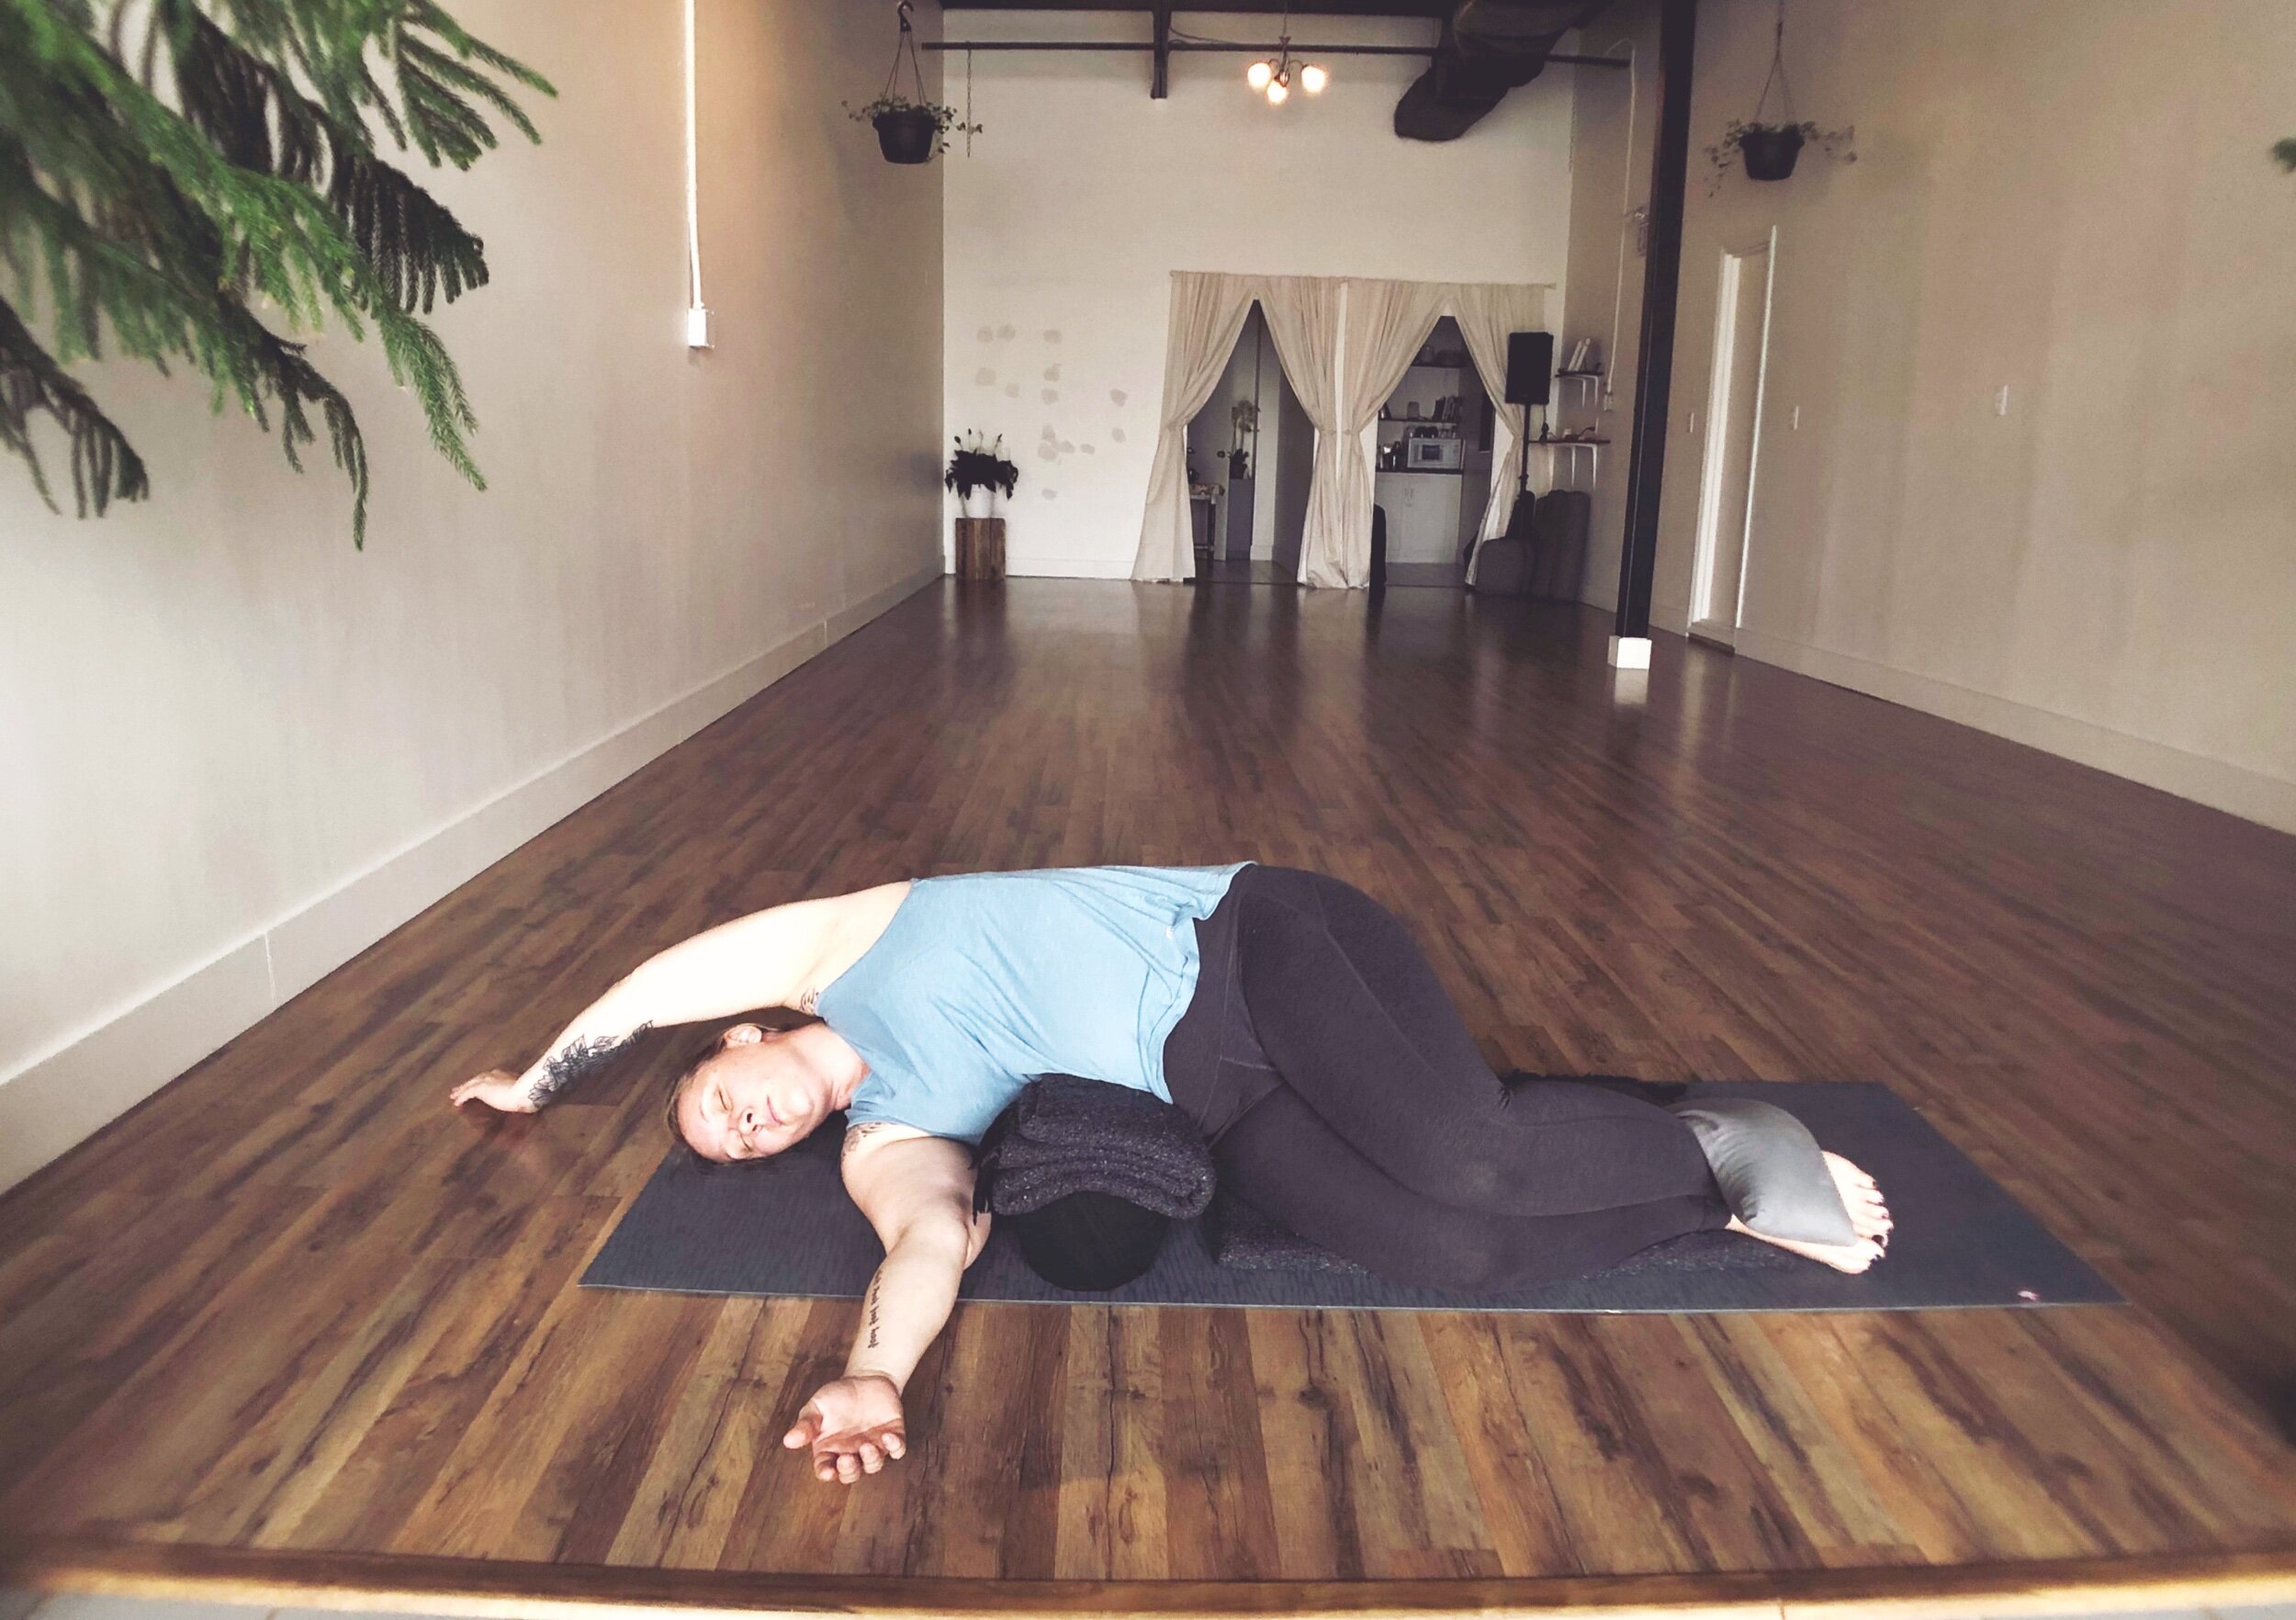
There are three variations shown above, each one has a different degree of intensity. The first picture is the most gentle. There is an extra blanket under the hips for cushion. The hip is resting firmly on the ground, and the torso lies across the bolster, with the bolster somewhere around the bottom of the ribs. For a more gentle side bend (like in the first picture), place a folded blanket under the bottom shoulder, and a block or another prop under the head. Lastly, find a comfortable position for the top arm. I placed mine overhead in this picture, it could also be resting on the side of the body, or on top of the bottom arm. In the second picture, the side bend is made bigger by adding a blanket on top of the bolster. In this version, the head is still supported by a block, and the top arm is resting on the bottom. In the third picture, the side bend is made even bigger by removing the support under the head. Again here, you can place the top arm in any position that feels comfortable.
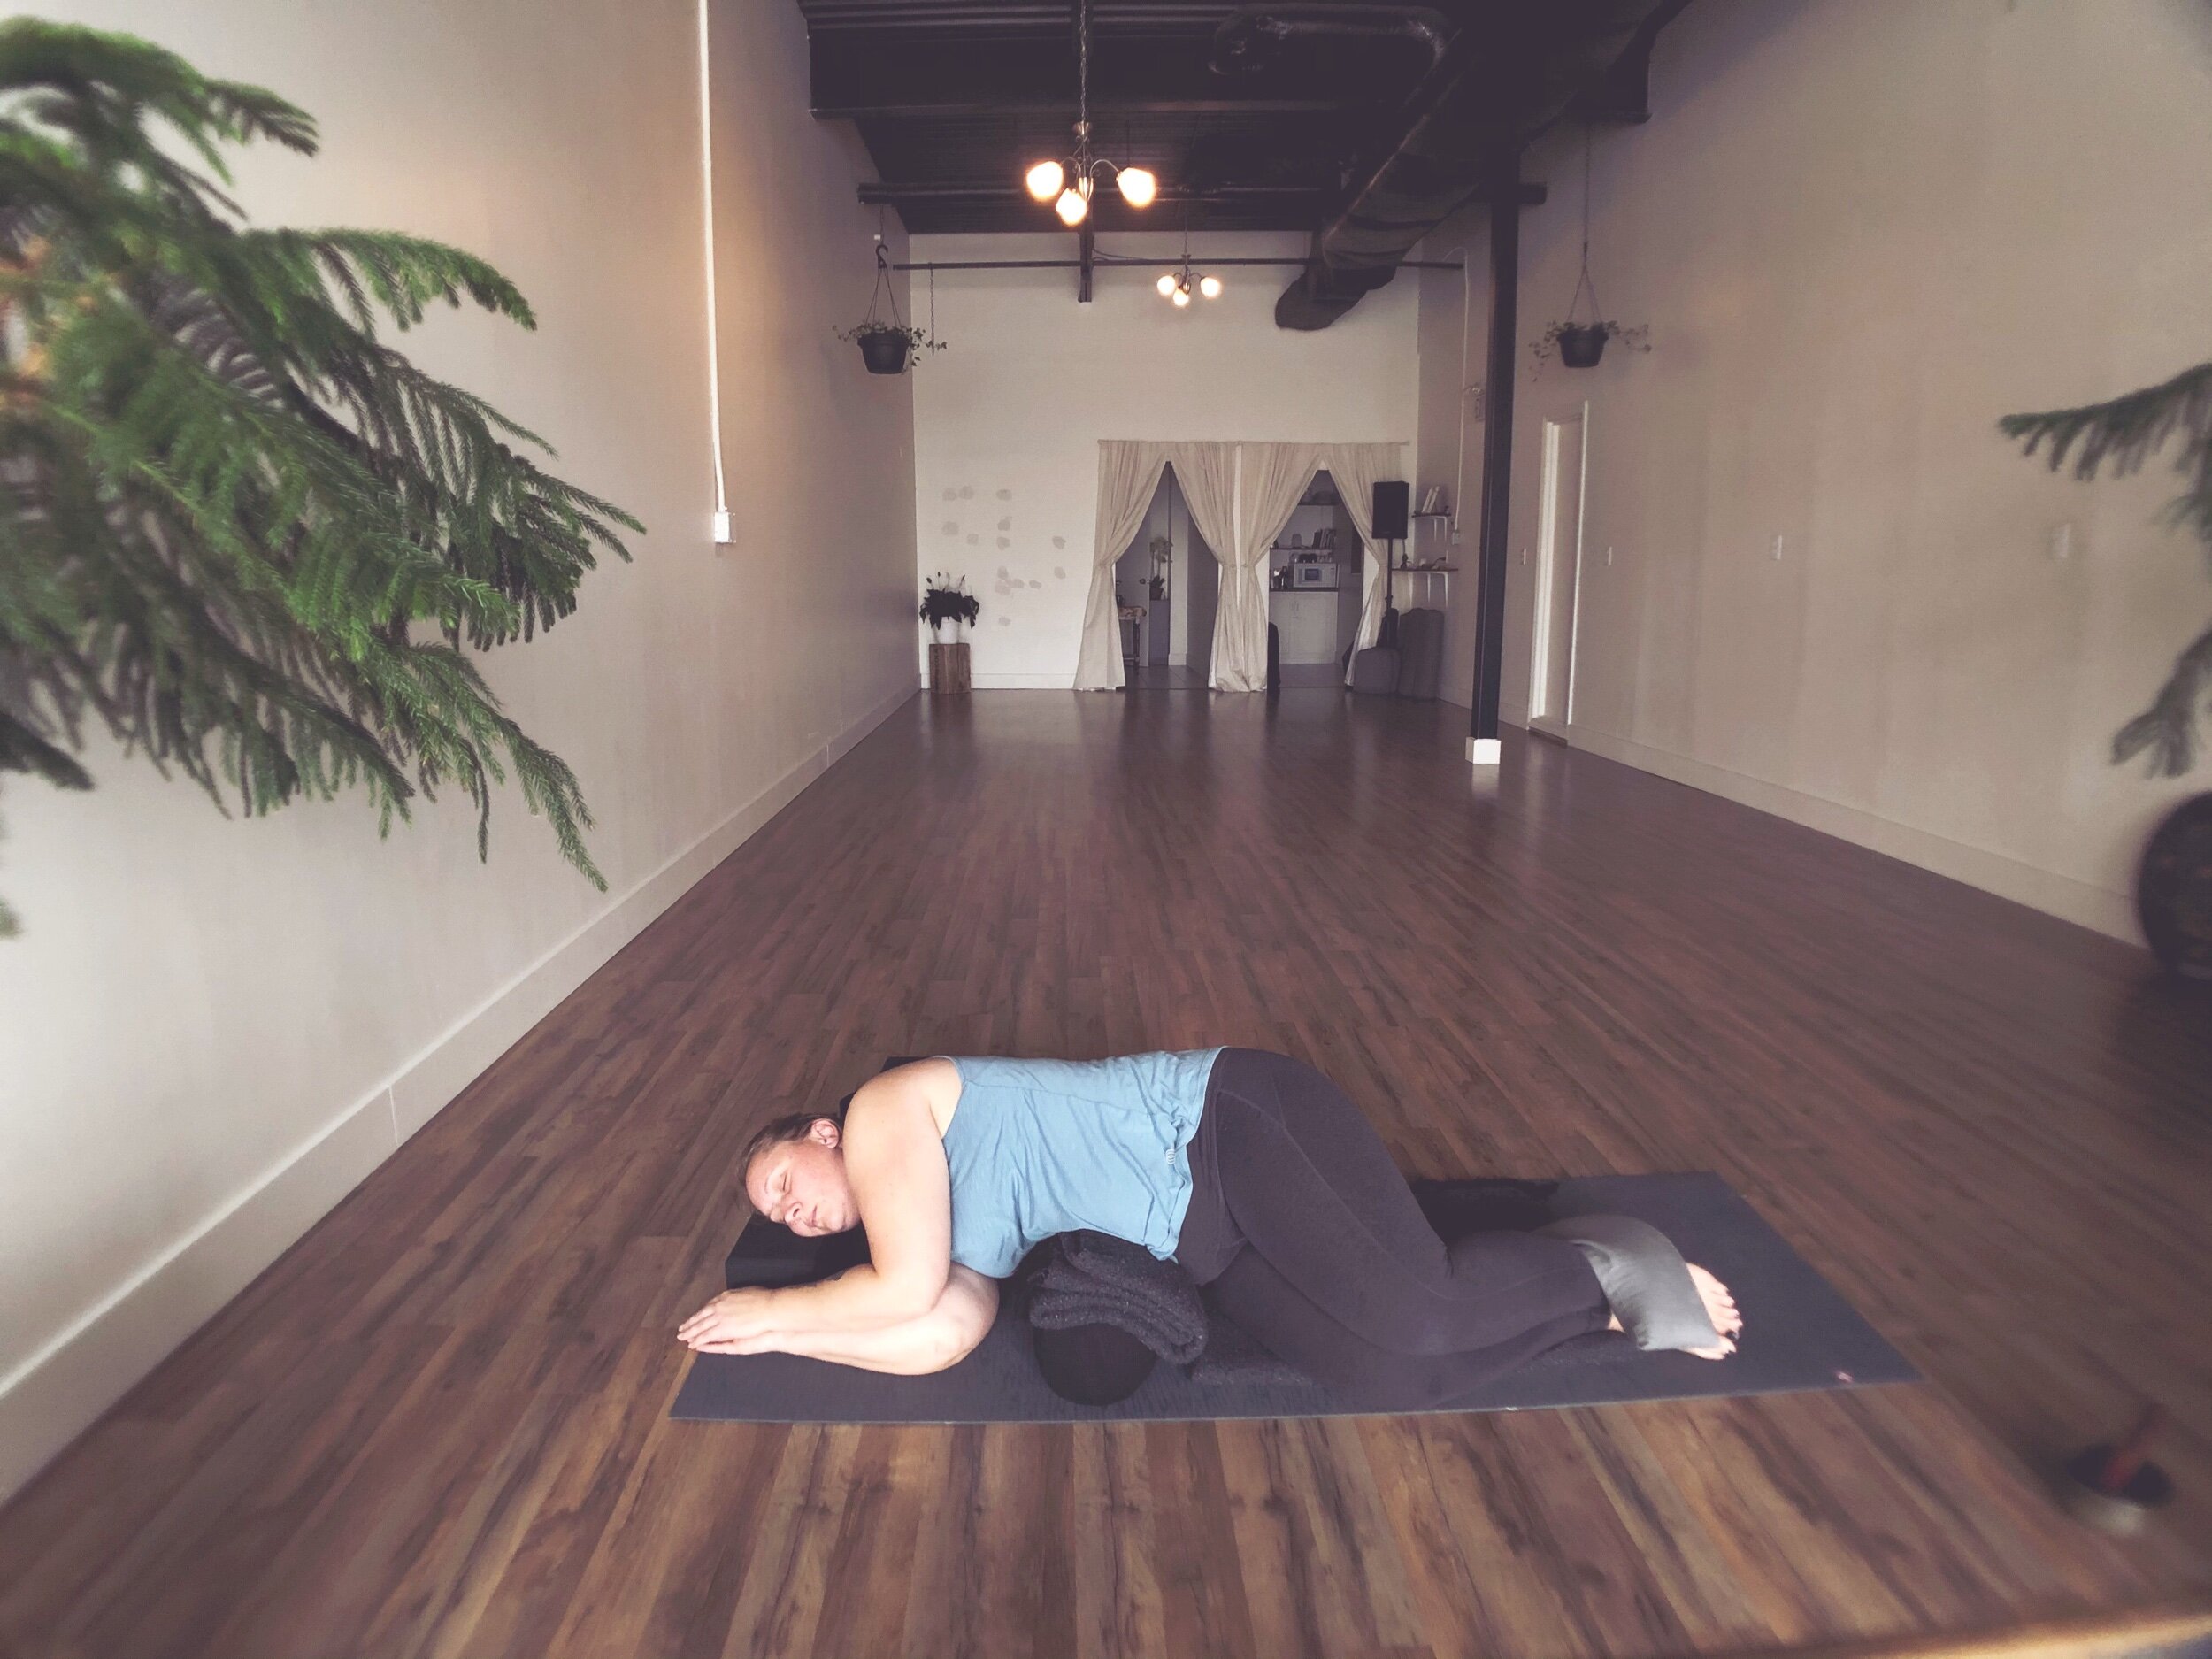
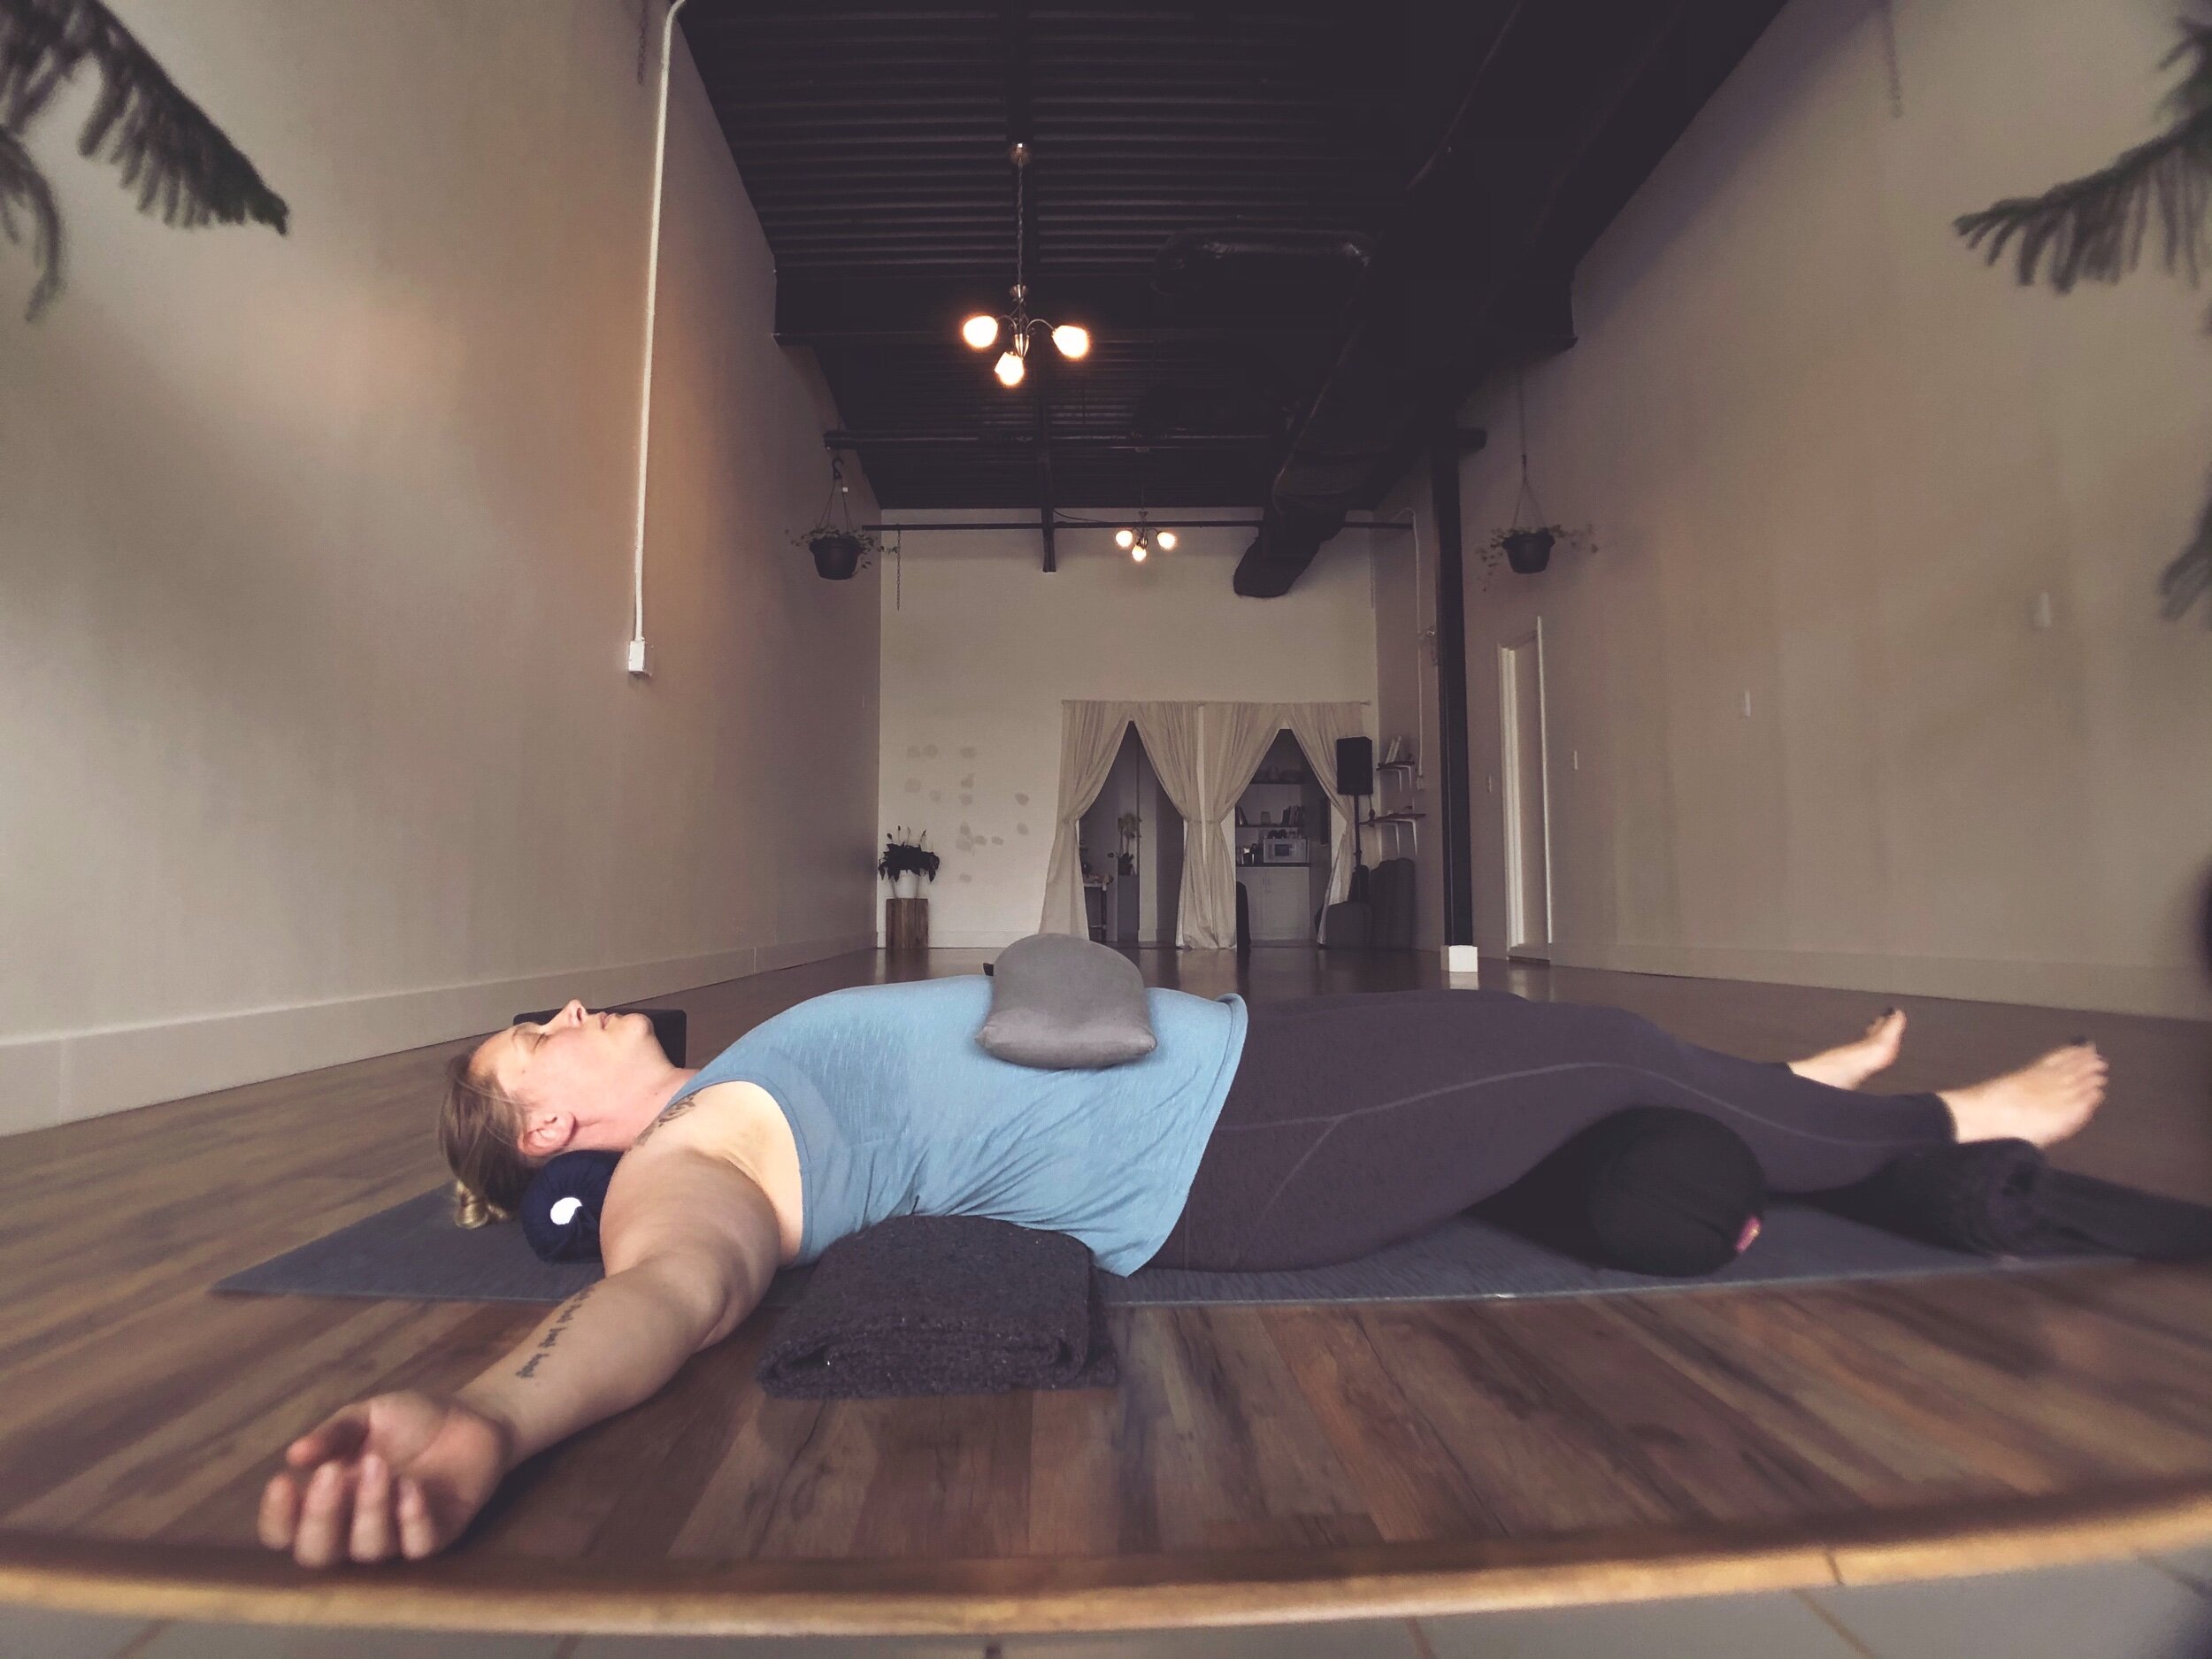
Supported Fish
The top picture is a more gentle backbend/heart opener. The ramp built with the bolster and two blocks offers a small extension of the lower spine, as well as a stretch in the front of the chest. Once the ramp has been made, we move the tailbone right back to the end of the bolster, and slowly lower the back onto the bolster. The closer our arms are to our body, the less intense the chest stretch will be. The more we move our arms out into a “T” shape, the stronger the stretch. Under the forearm, there is a block, for support, as my elbow did not reach the floor in this pose. In the bottom picture. The bolster is run sideways, instead of longways. We keep the hips firmly on the floor, and lower the body down across the bolster. If this is too intense, we can place a folded blanket under the shoulder blades, or replace the bolster with a smaller rolled up blanket.
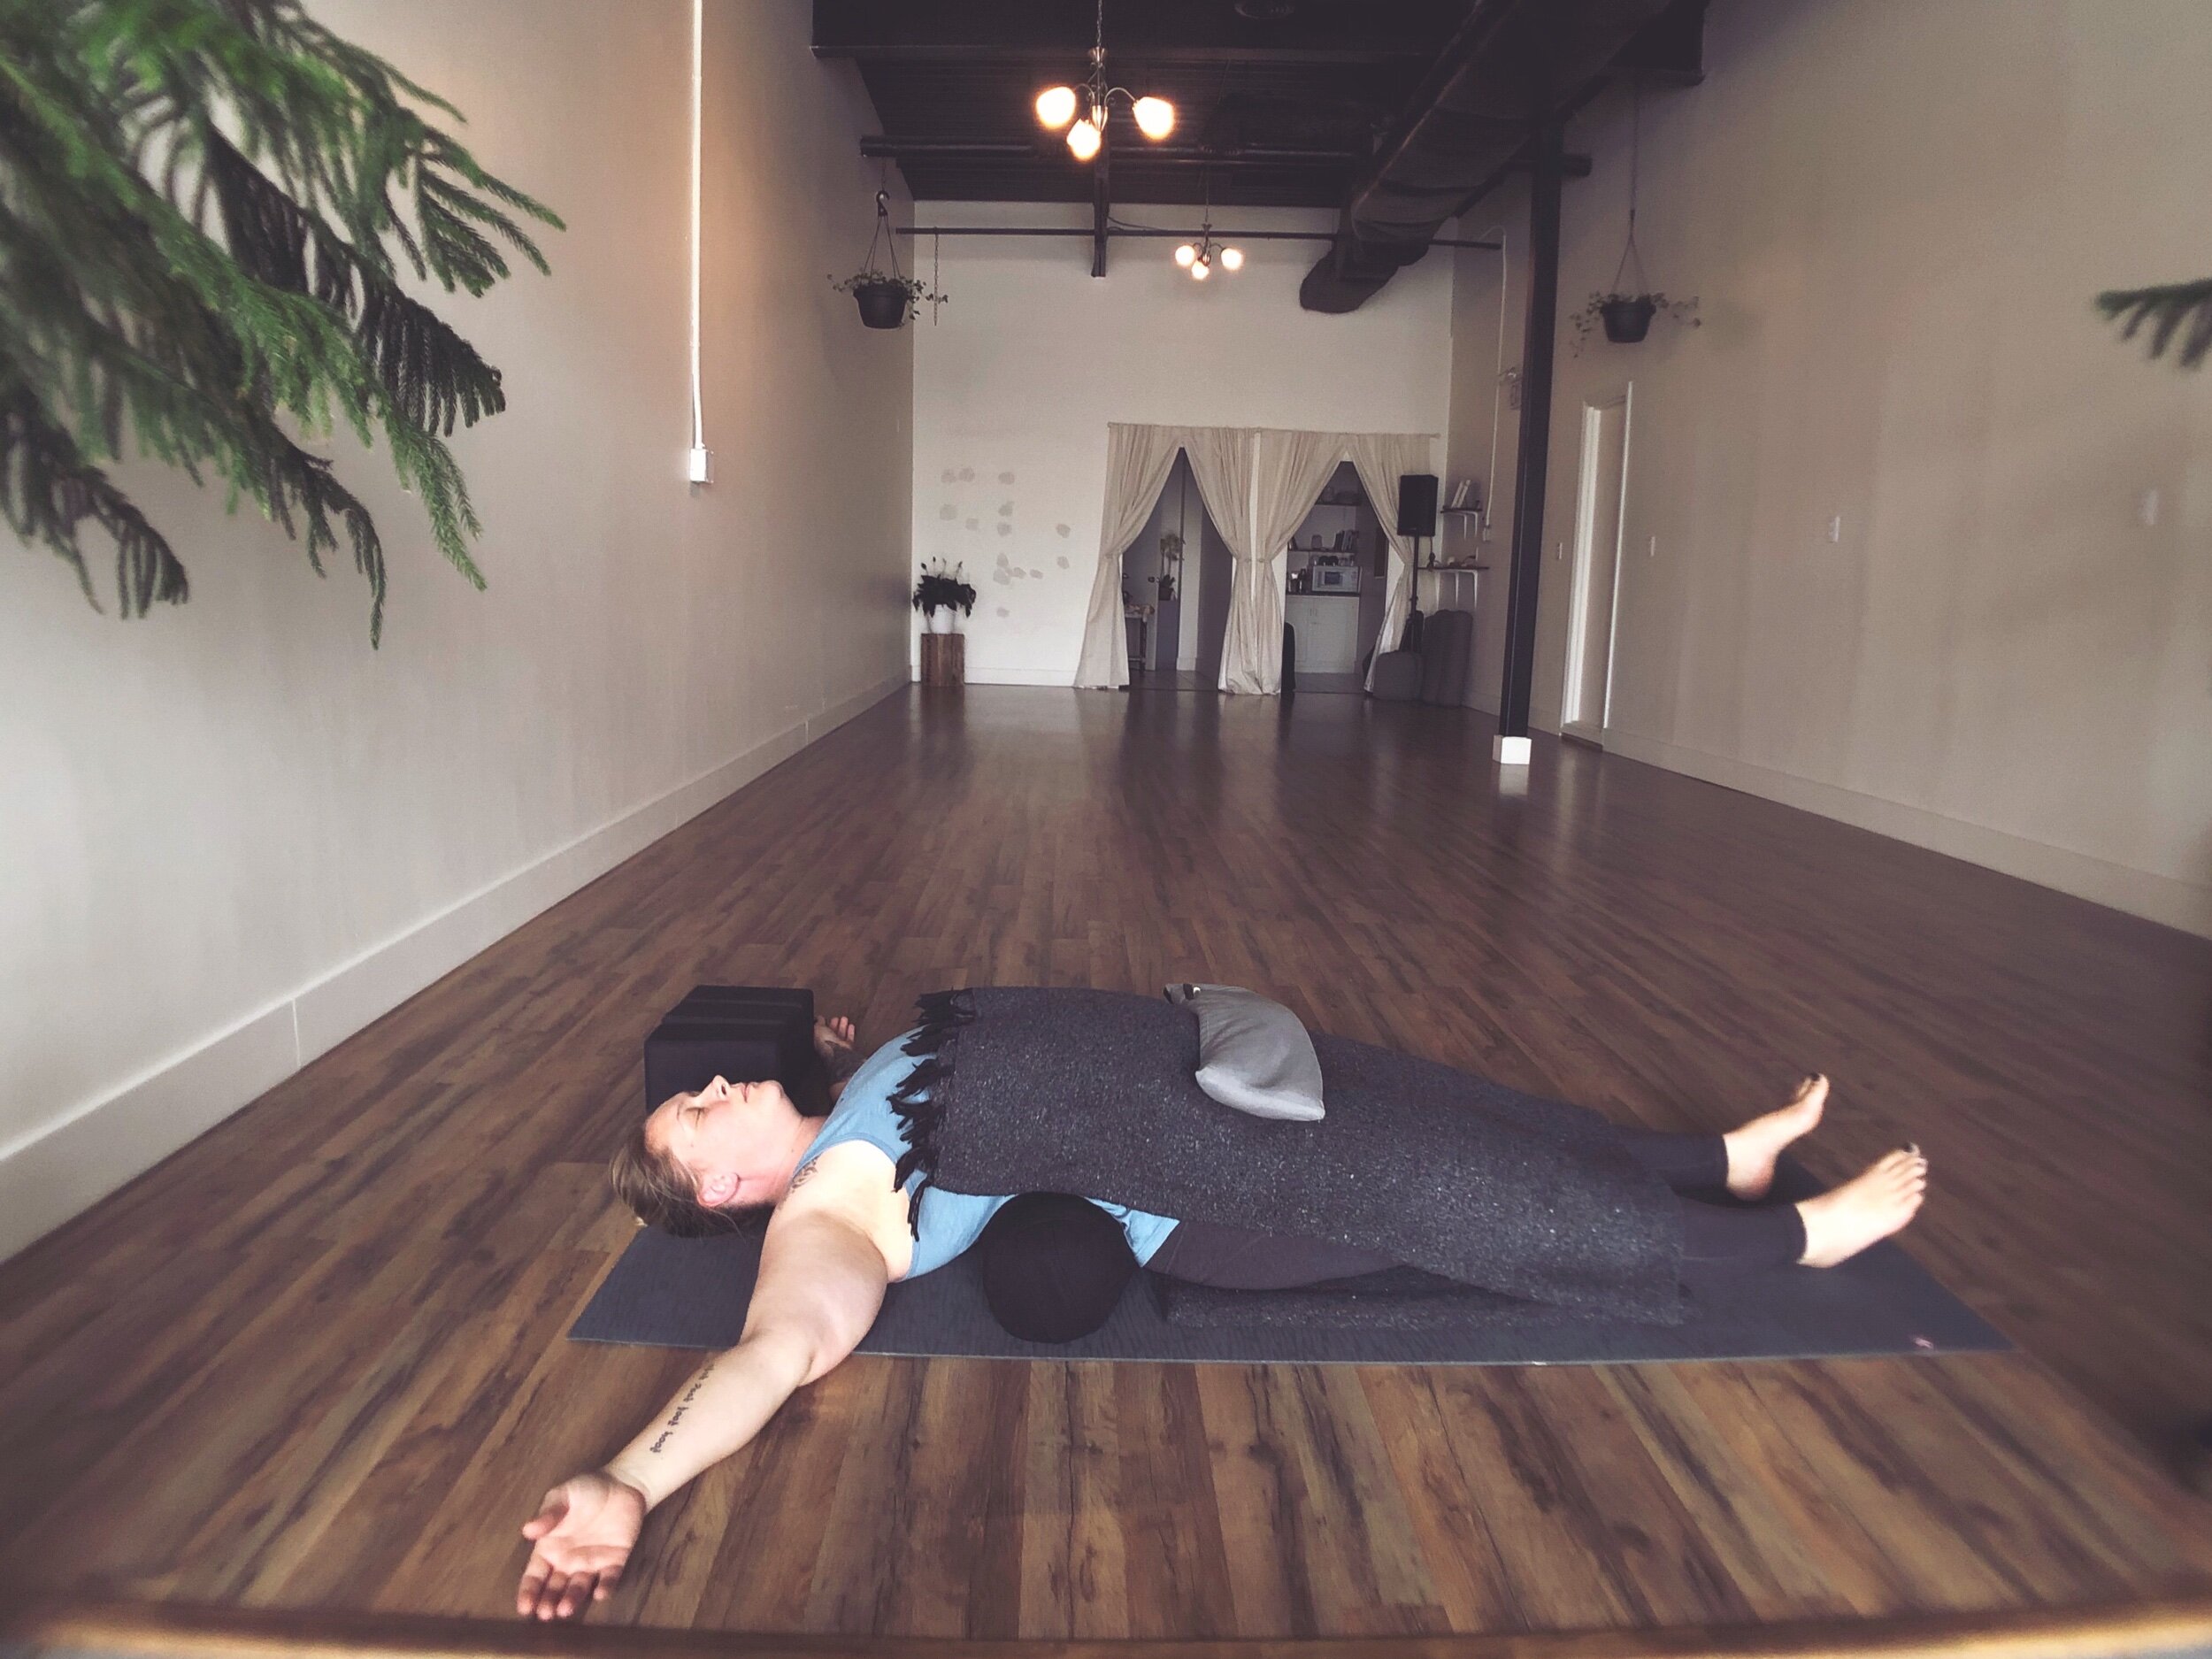
Mountain Brooks Pose
In this pose, we are supporting all of the curves of the backside of our body. The curve of the neck, low back, underside of the knees, and the curve just above our heels. The intention is to only support these curves, not exacerbate them, so when you are setting up into this pose, make sure that you don’t feel too much pressure from the props underneath you. For some of my students, the support under the low back, no matter how subtle, feels uncomfortable. If this is the case for you, you can just omit it.
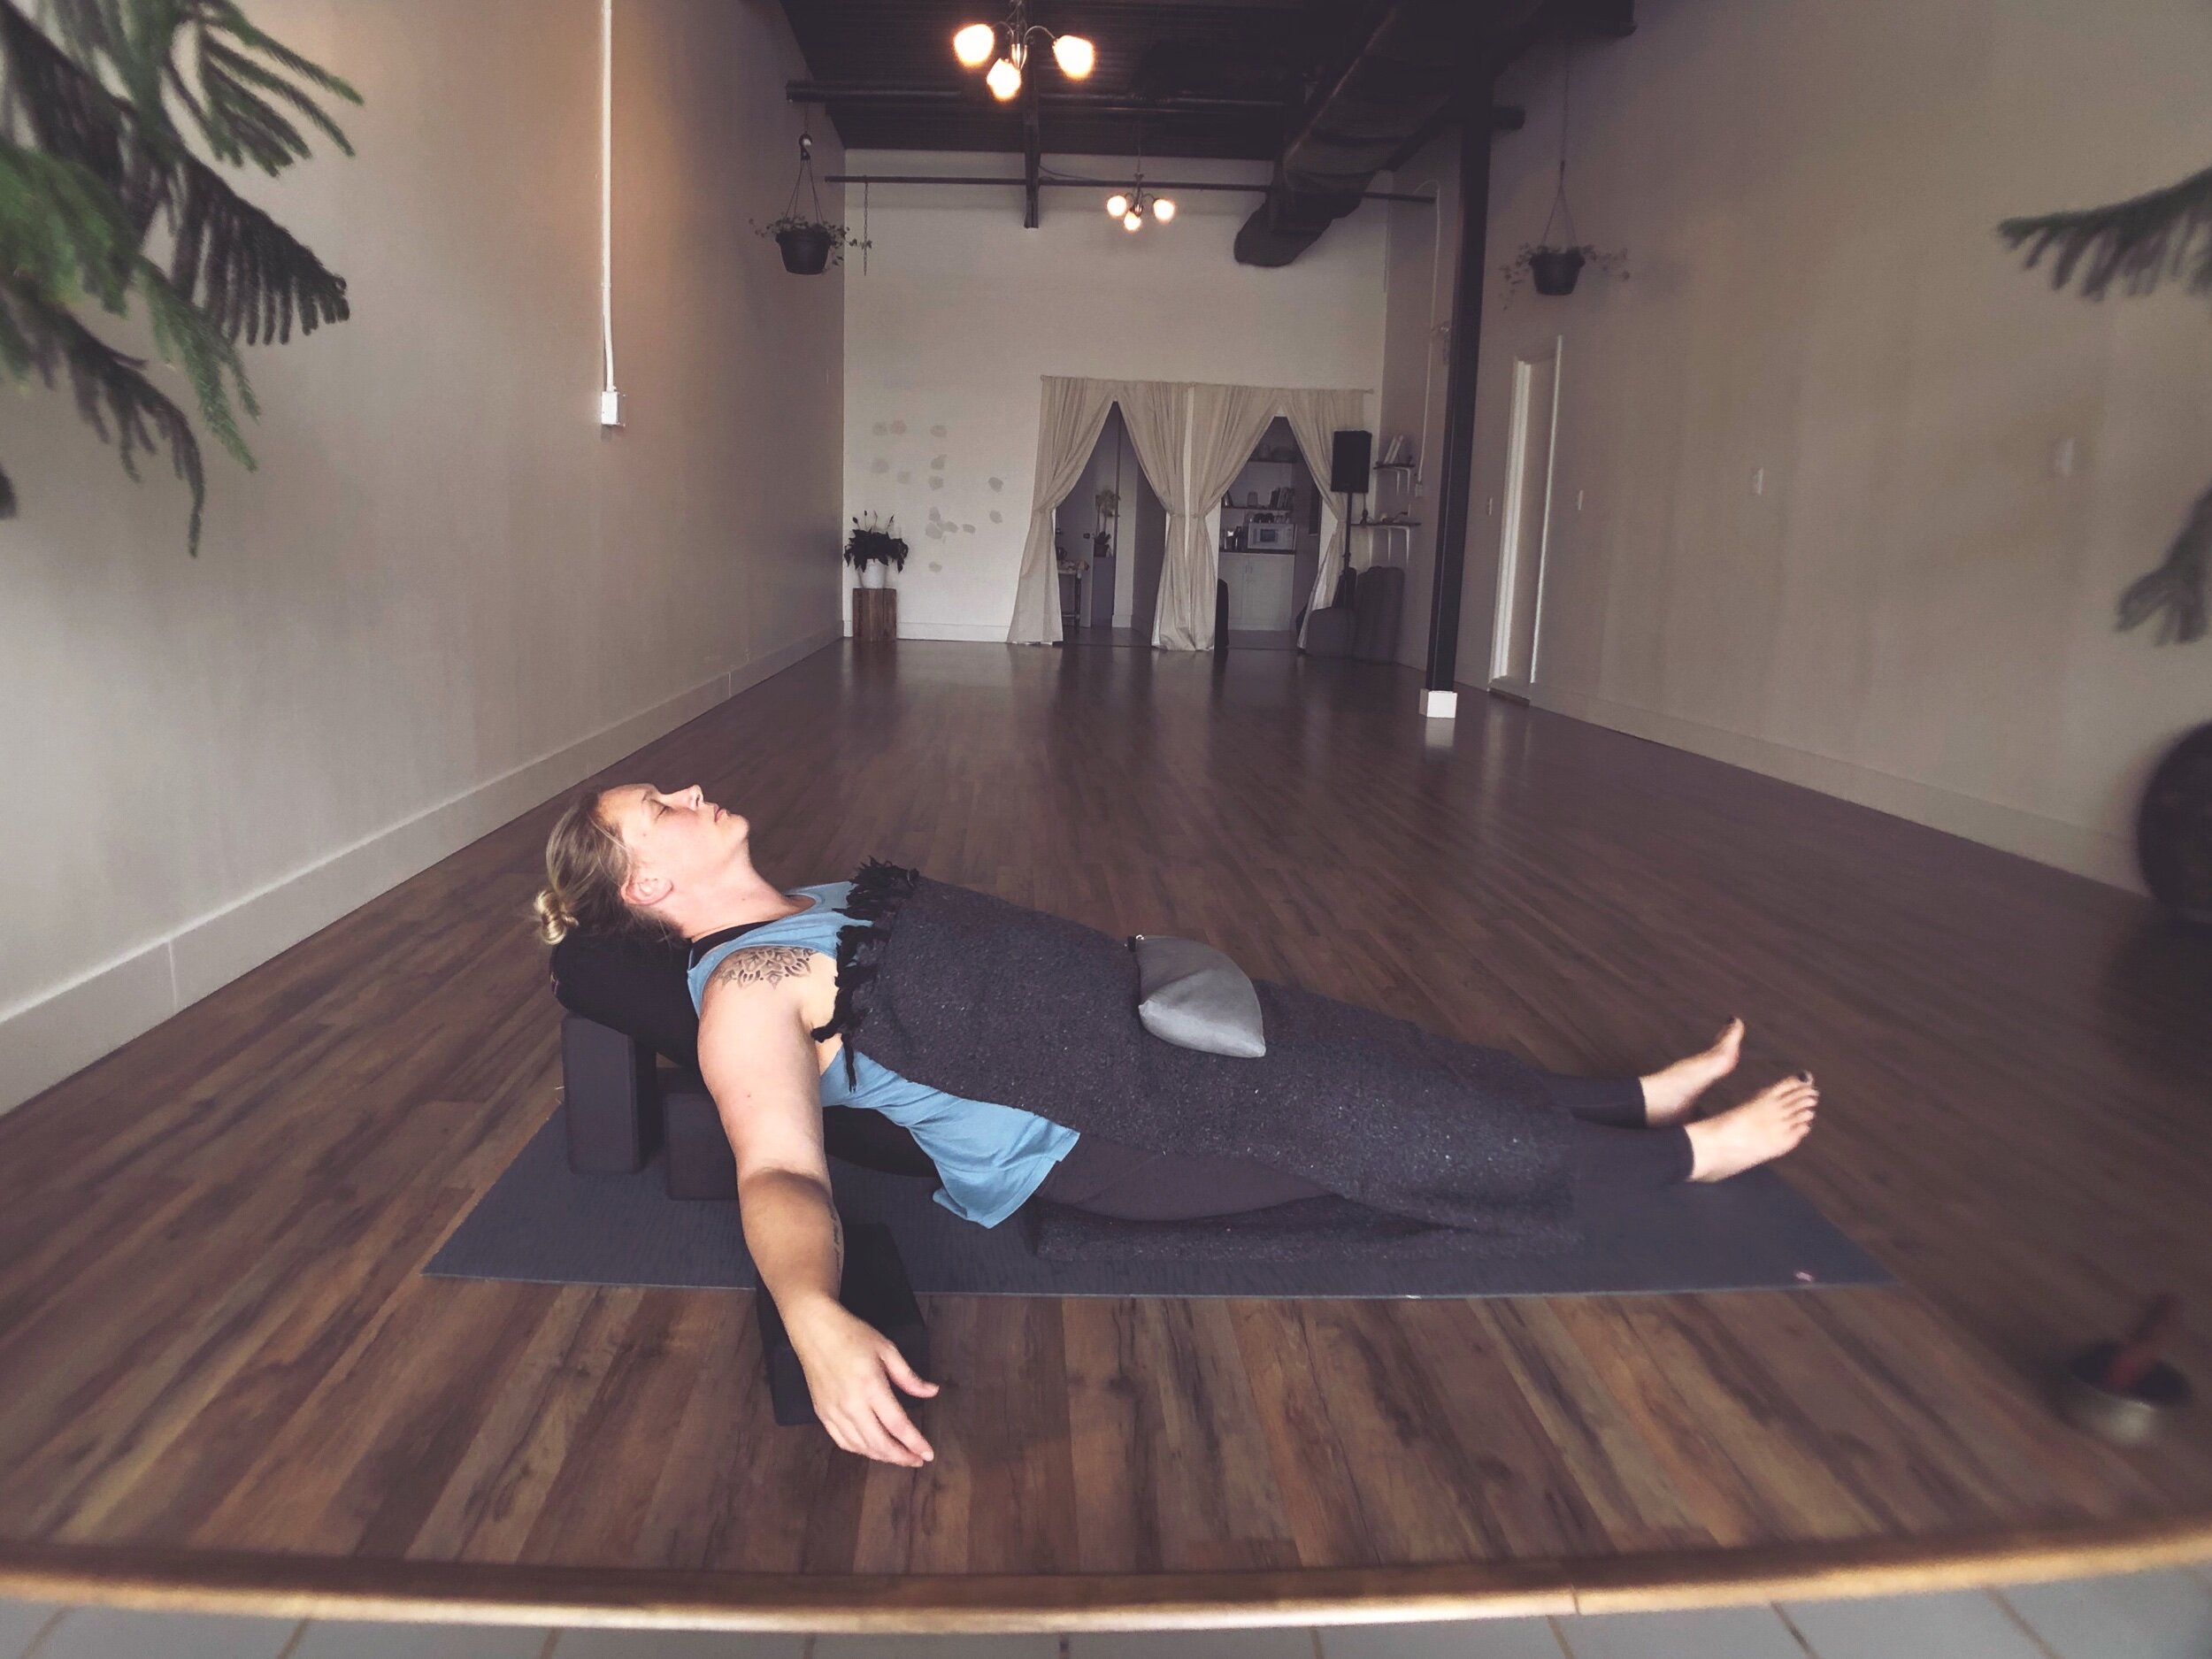
Supported Savasana
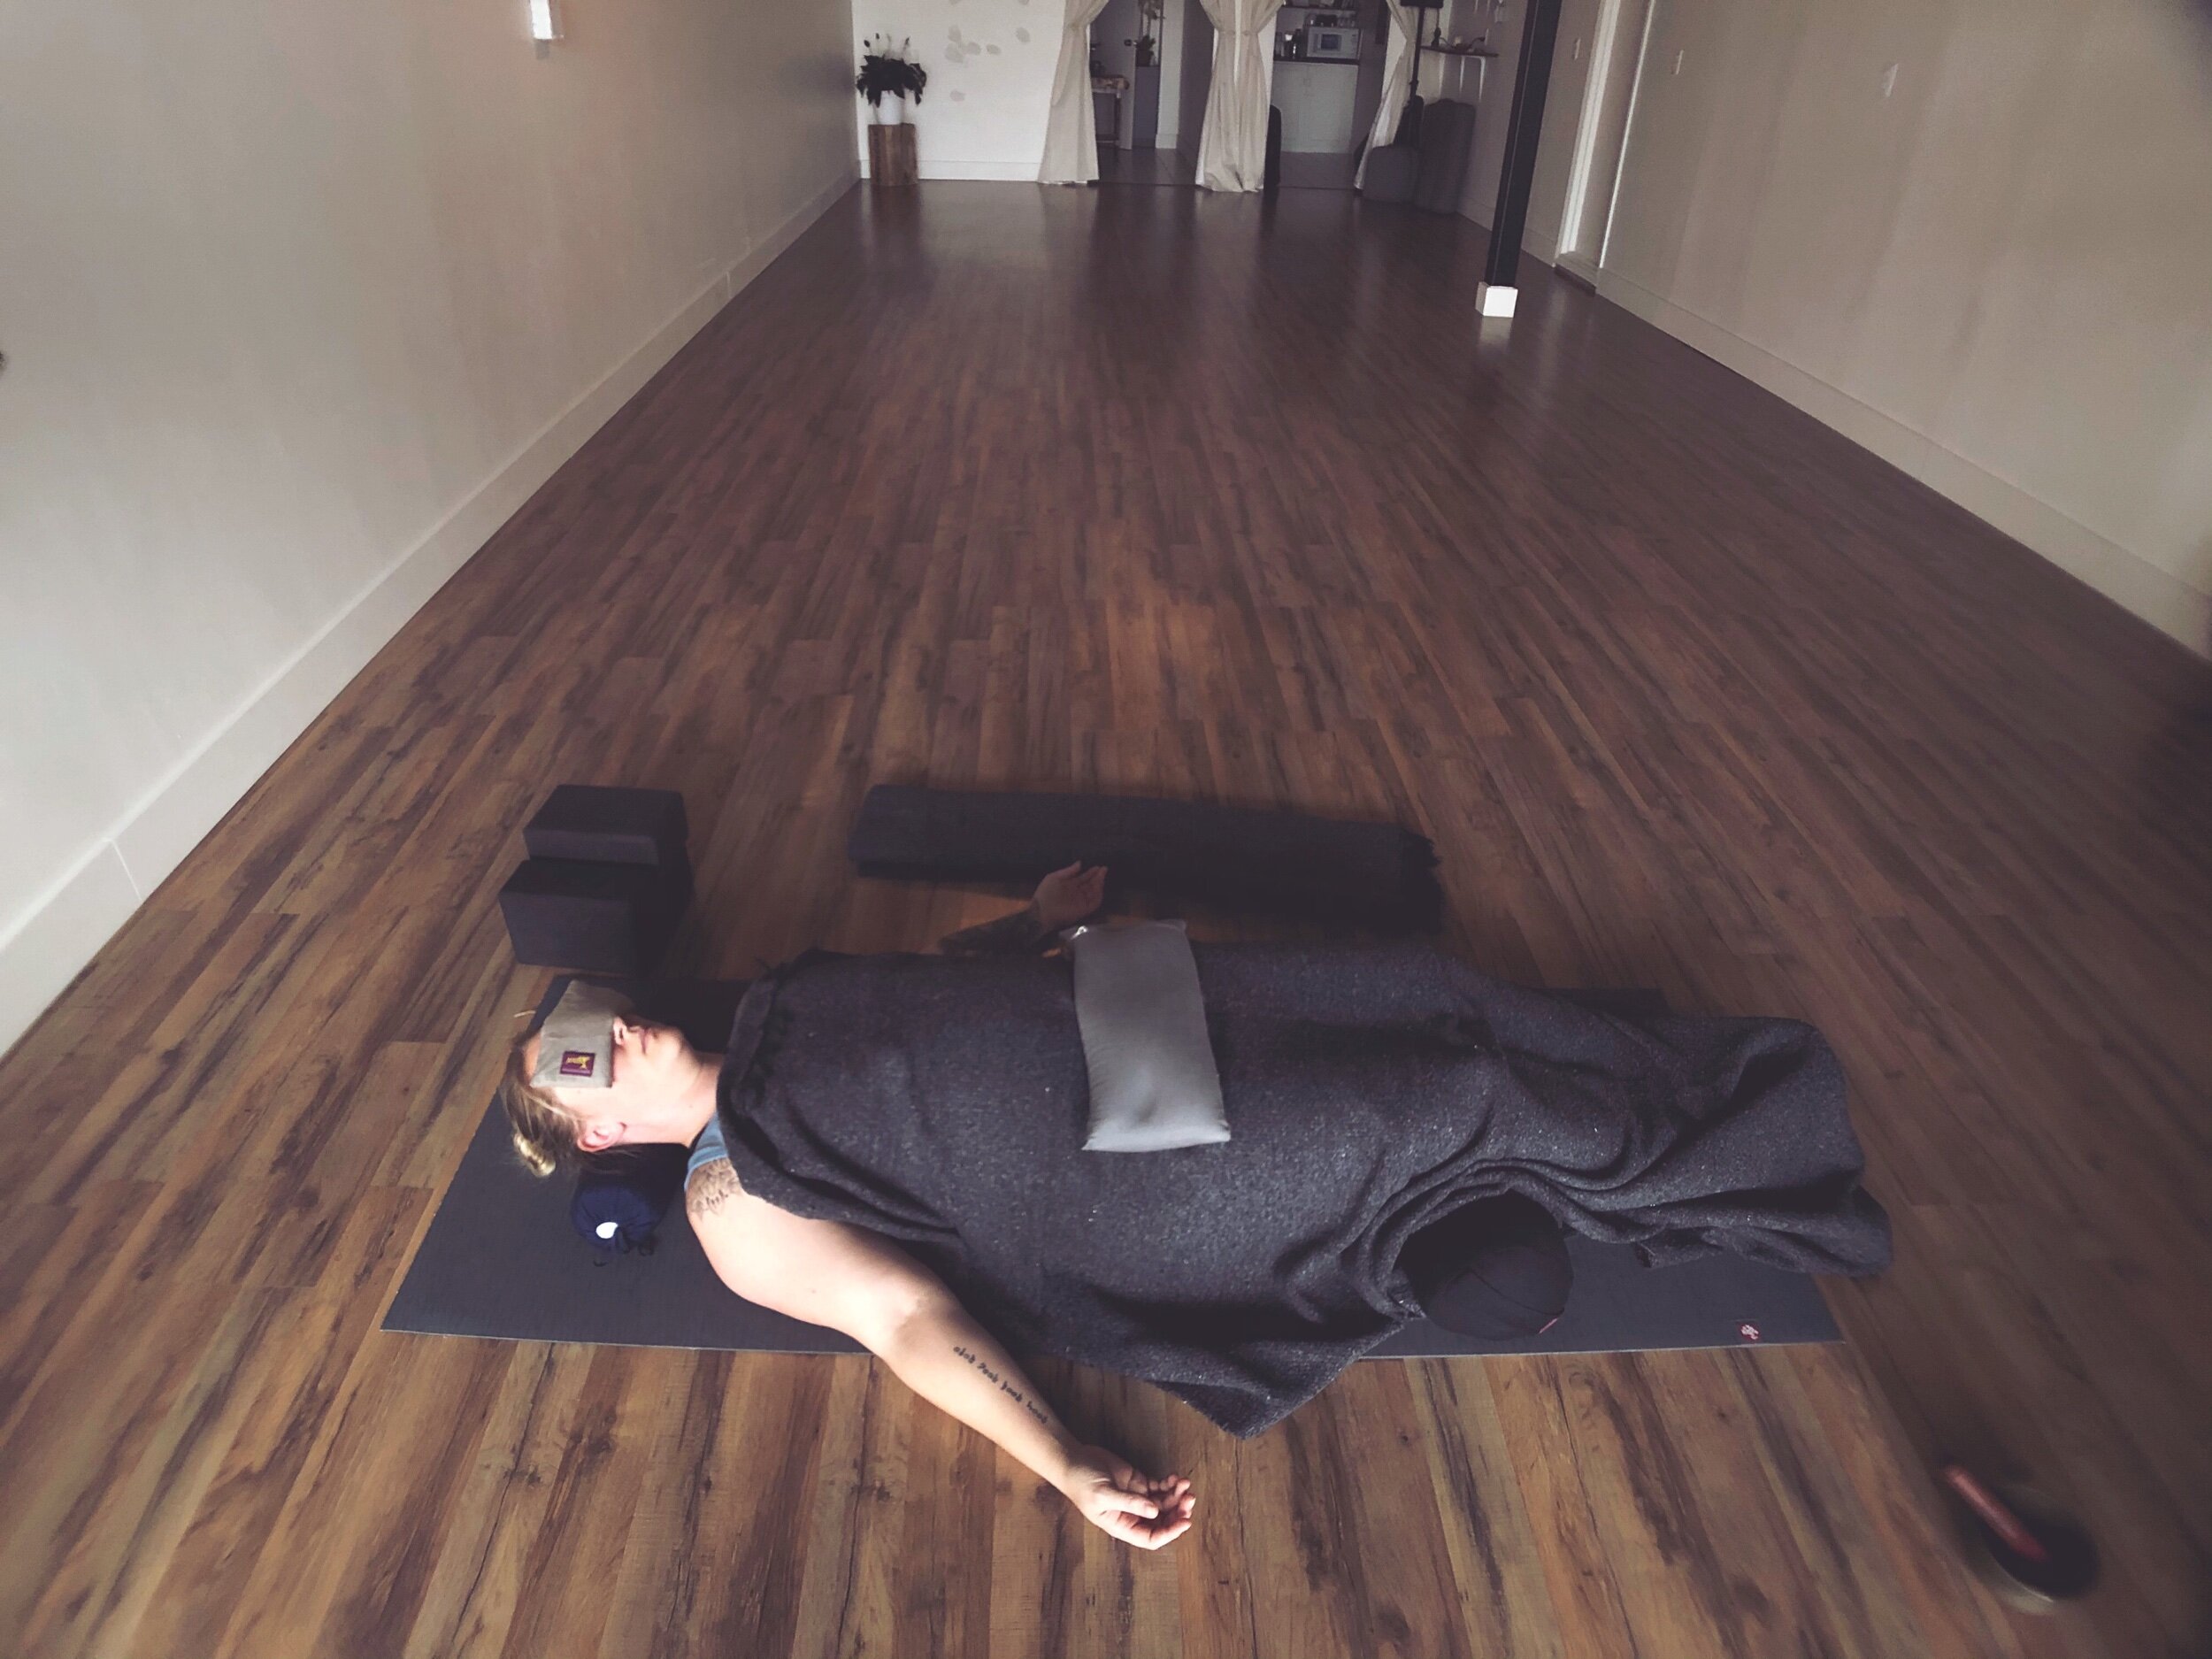
In this final pose, our rest pose, I supported both my neck, and under my knees, while adding an eye pillow, a blanket, and a sandbag to weight the front of my body. You can play around with how you use props in supported savasana, some people love having blocks on top of their palms, or the blanket folded and only covering their torso, or no blanket at all! Also, the sandbag I prefer to have on my hips, but sometimes it feels wonderful on my thighs or ankles, or even one on each shoulder. Feel free to play around and explore with what feels comfortable to you in this pose!